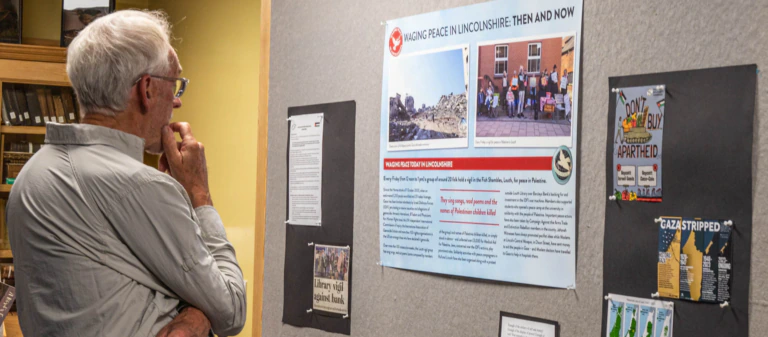
Thanks to grants from the National Lottery Heritage Fund and the Art Fund, Museum Development South West (MDSW) recently completed a Reducing the Risk project to train and support 61 museums to identify and manage 11 of the commonly found hazards in museum collections.
As a result, several free resources are now available to download on our website along with some interesting case studies.
Physical hazards such as sharp edges and points are frequently found in collections of weapons and tools and many materials such as ceramic and glass are brittle enough to form sharp edges when broken.
Kinetic objects (which are suspended, pressurised, under vacuum or rely on stored energy such as springs) can all cause harm when the energy is suddenly released.
Mould can form on any surface if the conditions are right and other materials can be toxic or harmful in a variety of ways, either from the materials they are composed of (for example, arsenic, antimony, lead and mercury or the deterioration products formed as they age, such as cellulose nitrate).
Objects which produce radiation can cause harm even at a distance.
Advertisement
Some hazards impose specific legal requirements on museums including asbestos, controlled drugs, explosives, and firearms.
How does a museum manage these hazards and keep everyone safe?
Tip 1: Don’t panic! Get familiar with the problem
Gather a small team – this is not a task for one person. The MDSW website hosts a short animation to help you get started and. Then download the handbook and work your way through the first pages. You will also find helpful information via the Hazards In Collections website, created by a consortium of London museums and supported by Arts Council England.
You may also like to download a printable poster by Share Museums East with museum hazard expert Larry Carr.
Remember, every museum is governed by the same safety laws, which set out the requirements for employers and employees, even if it is entirely run by volunteers.
Advertisement
Tip 2: Survey your collection
Start by going through your Collections Register or database and searching for hazardous keywords – the handbook includes these for different collection types.
You may also be aware of other hazard names, especially local ones, so include those. Note down the object numbers and locations. You may find the templatehazardous objects register helpful for recording these.
Now go through your museum display and storage areas and look for the actual objects. You will need basic PPE (personal protective equipment) such as nitrile gloves, an FFP3 facemask (for dusty or mouldy areas), a disposable apron or a coverall, a waste bag, and some plain wet wipes. Practice taking off the gloves safely (see page 9 of the handbook).
As you become more experienced you will find other objects that have hazards but have not been recorded as such in the register or database.
Add each object to the hazardous objects register as “suspected” until you can confirm their status. If have a suspected hazardous object made safe or proved to be hazard-free, make sure this is clearly recorded on the collections register or database with the evidence, so people in future know the record is reliable.
Advertisement
Tip 3: If you encounter mould…
Mould spores can be a serious health hazard for everyone. Read the mould section in thehandbook (p11-21) and decide if you can manage this in-house or need external contractors. At the least you will need good PPE for everyone entering the area and a way of drying the air to kill the mould.
Investigate why this area became damp enough for mould to grow and tackle the underlying issues to prevent recurrence. This is one hazard the museum can, and should, avoid completely.
Tip 4: Set priorities
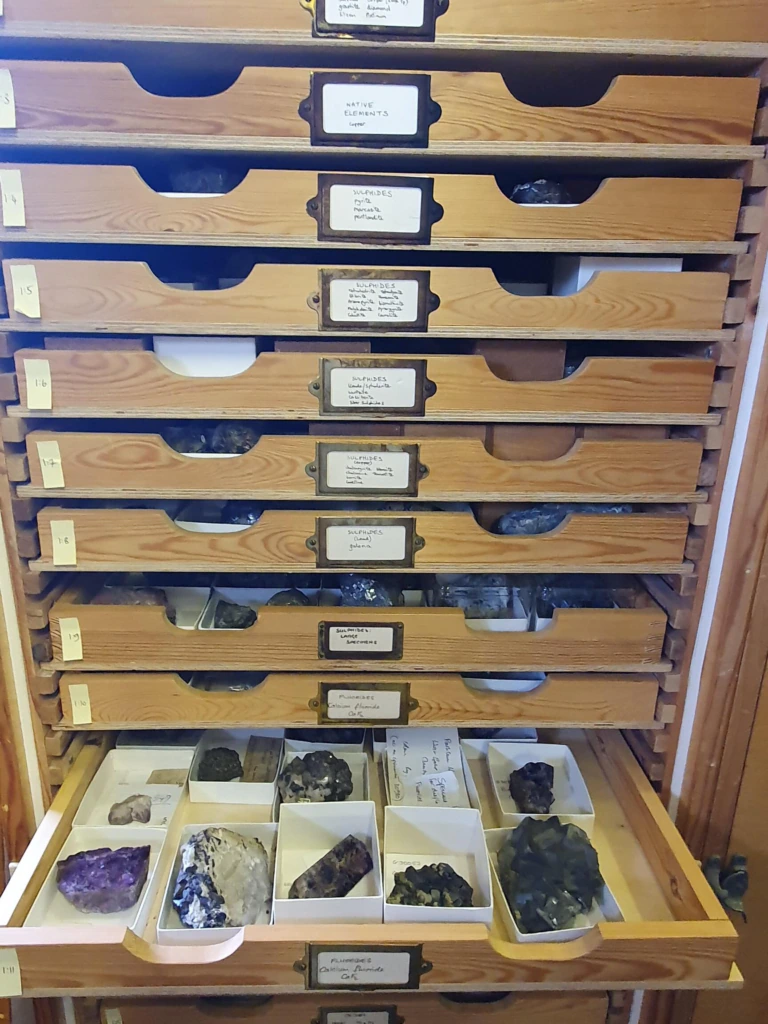
The museum is unlikely to be able to tackle everything at once. Assess which are the most dangerous or threatening problms. This could be a collection of firearms or controlled drugs for which the museum does not have a licence, deteriorating cellulose nitrate film (negatives or reel film) which could be a major fire risk, or geology specimens in open drawers.
Assess the risk of the hazards causing harm. For example, motor vehicles are likely to contain asbestos, but if they are in good condition and no-one is exposed to the asbestos in the brake pads and gaskets, it may be better to plan to address this problem comprehensively with visits from an asbestos specialist firm.
In the meantime, make sure no one can be accidentally exposed by labelling the objects or areas, writing safe procedures for working near or on the objects and training everyone in the museum team.
Write an action plan that sets out how the museum will tackle the hazards. The museum will need to label hazardous objects and their locations. Safe working procedures and staff training will help to keep everyone safe from harm.
Some objects can be made safer by isolating and labelling them – samples of toxic minerals such as cinnabar and realgar can be placed in polyester or acrylic enclosures so no-one can be exposed to the dust – while others such as explosives contained in line-launching rockets may need to have the hazard removed altogether.
The museum should not assume it will dispose of a hazardous object. Many are significant to the collection and can be kept safely with a combination of risk assessments and safe procedures, labelling, isolating materials, staff training, and PPE.
Sometimes the hazard can be contained – asbestos filters in gas masks can be impregnated with resin to prevent the fibres escaping.
Containing, removing, and disposing of hazards will usually need to be done by qualified professionals. Do not attempt to dispose of hazardous material without checking the legal requirements. For example, museums with paid staff must use a licensed waste carrier to dispose of asbestos and obtain a Waste Transfer Note. Check in the handbook for details on each hazard.
Tip 5: Ask the experts
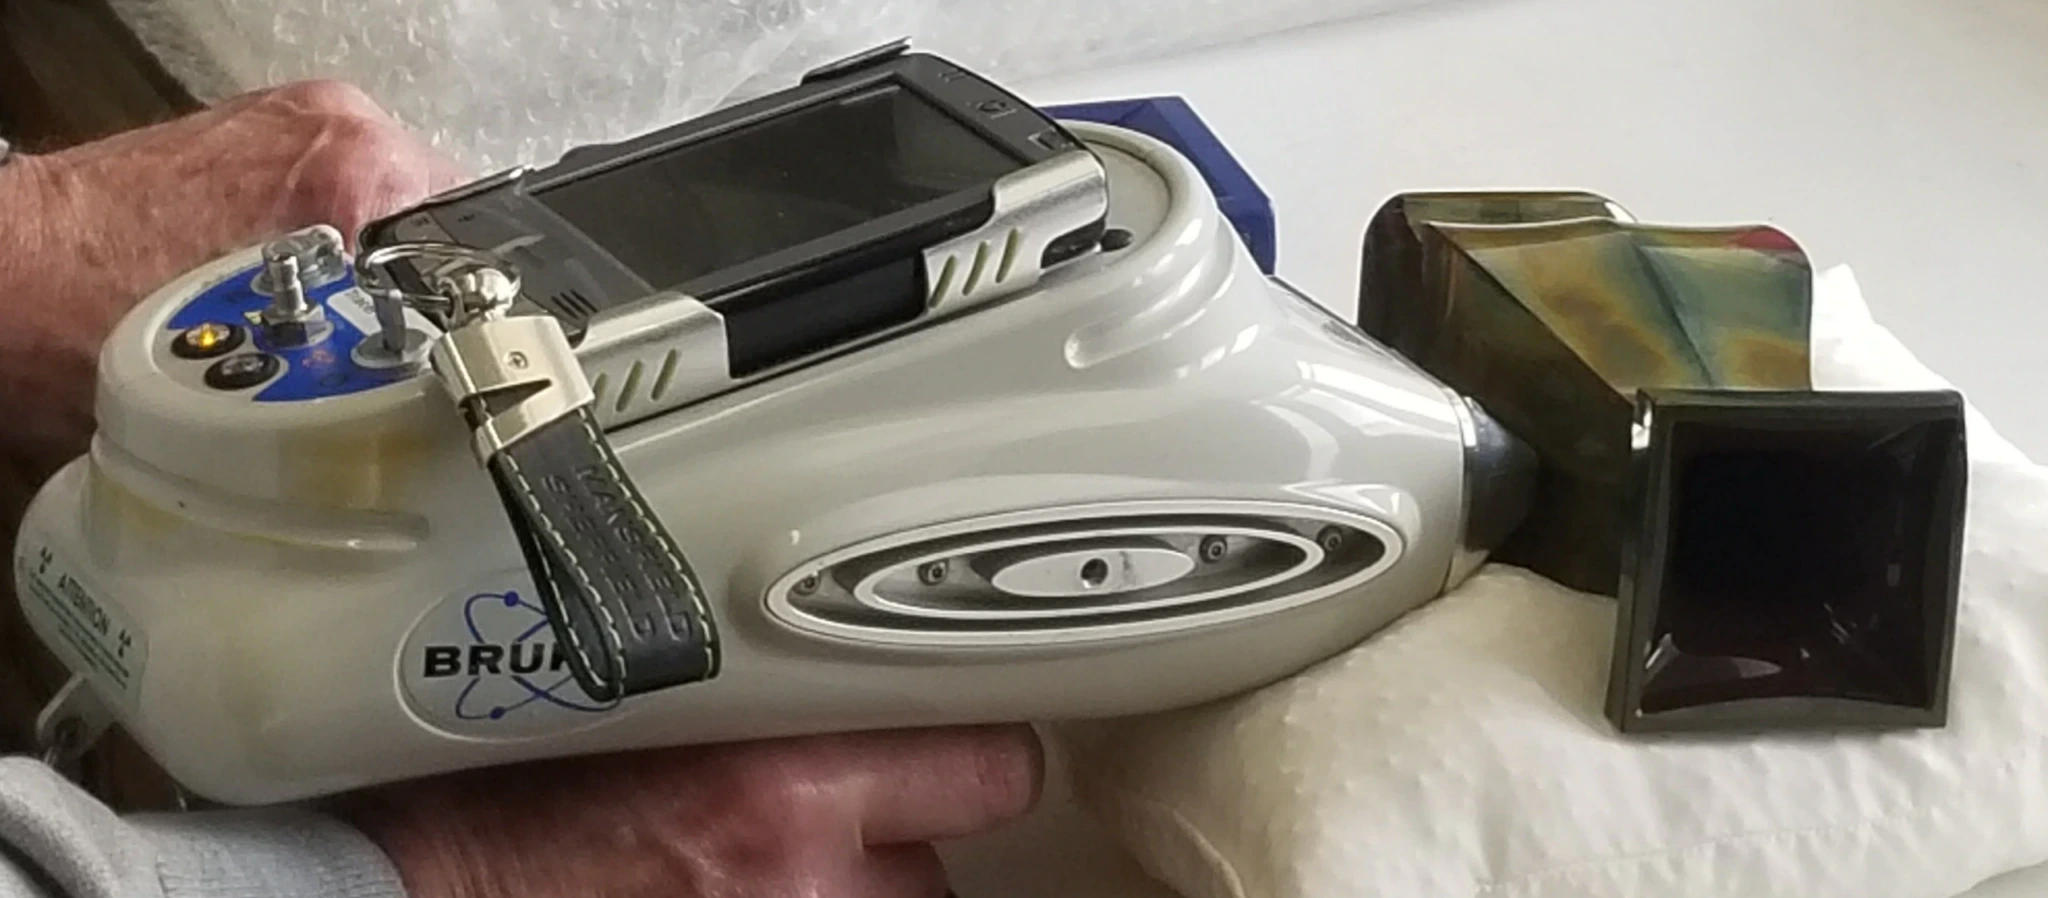
The museum will need help confirming the presence of some hazards, especially radiation and asbestos. Some heavy metals can be confirmed by chemical spot tests or the use of a portable X-Ray Fluorescence analyser, with a trained operator.
Police or explosives experts may need to remove items immediately, so make sure that the museum has exit documentation forms and clear identification paperwork ready before they arrive.
Experts can also help the museum devise ways to make the collection safer with better ways of storing, handling and using them.
Tip 6: What if there was an emergency?
Make sure that the hazardous objects are included in your museum’s emergency plan and the museum has appropriate kit to deal with it.
If the museum has barometers containing liquid mercury, or mercury amalgam mirrors, it makes sense to have a mercury spill kit and a mercury filter mask ready to deal with any free mercury. Discuss the presence of any hazardous objects with the local fire service who may advise on better areas to store the items.
Tip 7: Don’t forget the museum
There may be hazards present in your building – don’t ignore these while you concentrate on the objects.
Is the museum in an area with a higher radon level? Is there exposed asbestos lagging on pipes? Is old lead paint on walls or woodwork deteriorating into powder or flakes? Does an area smell mouldy or musty? Use your increased knowledge of hazards to check that the building itself is not a hazard for people.
Finally, please note that we produced the resources based on our current knowledge and experience, assisted by several experts. If you find any errors or have any helpful tips, please get in touch at museum.development@bristol.gov.uk
Helena Jaeschke is the conservation development officer for Museum Development South West, supported by Arts Council England